Foundation covers everything, which is exactly why plenty of people don’t want it. A full face of base can feel heavy in warm weather, hide freckles you like, and take extra minutes you don’t have on a weekday morning.
Concealer-only makeup flips the approach. Instead of evening out your whole face, you correct only the spots that bother you: under the eyes, around the nose, a blemish or two, a bit of redness at the chin. Everything else stays your own skin.
It’s a forgiving technique for beginners, but a few details separate a fresh, natural result from patchy, creased, or ashy concealer. This guide covers who the look suits, how to choose a formula and shade, five specific looks, and the mistakes worth avoiding.
Is a Concealer-Only Look Right for You?
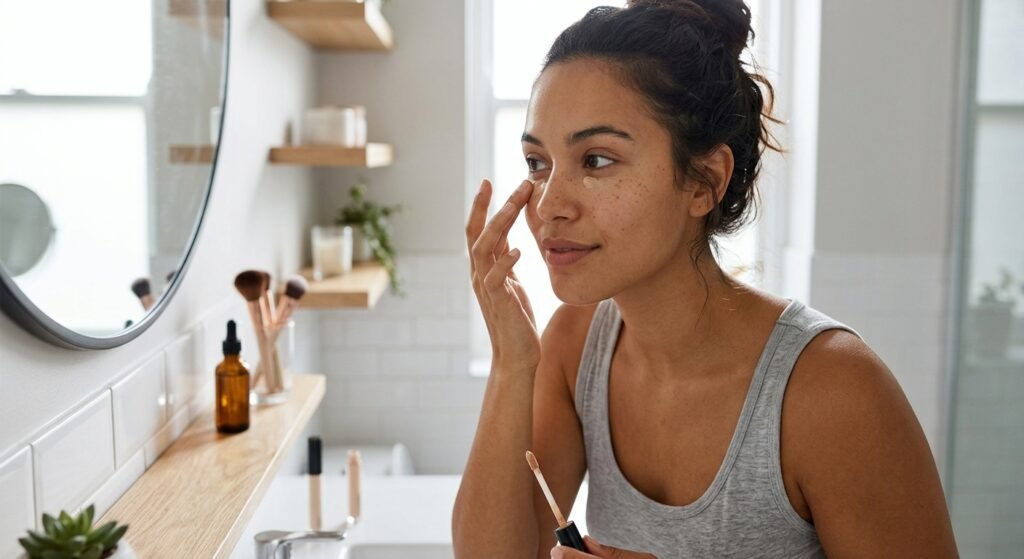
This approach works best if:
- Your skin is fairly even, with only a few areas you’d like to soften
- You like seeing your natural skin texture and freckles
- You want a faster routine
- You find full-coverage base uncomfortable or prone to settling into lines
It may be less satisfying if you have widespread redness, pigmentation, or breakouts and want a uniform finish all over. In that case, a sheer skin tint or a light layer of foundation applied only where needed might suit you better. Concealer-only isn’t better or worse than foundation. It’s just a different goal: correct, don’t cover.
Choosing the Right Concealer Formula
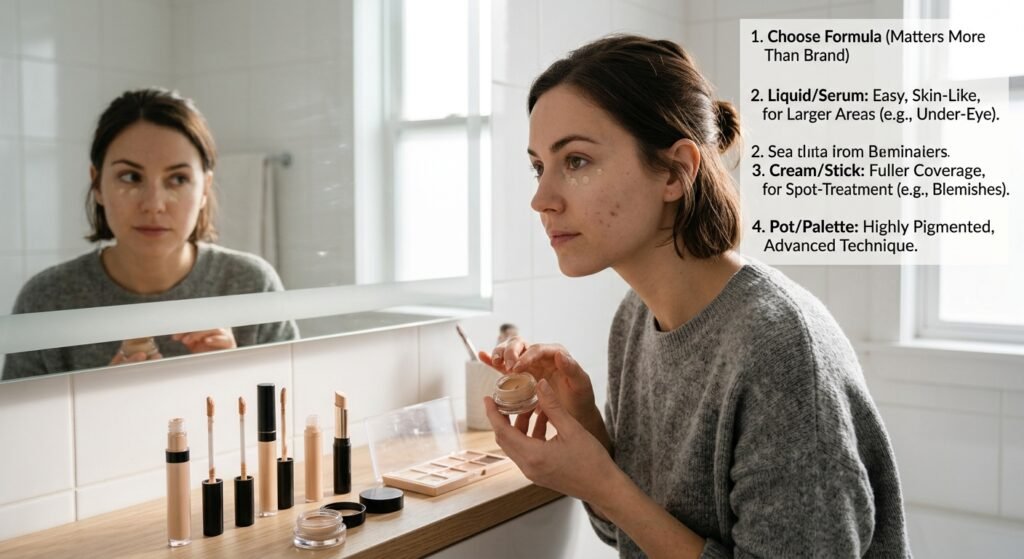
The formula matters more than the brand name, because the same product can look flawless on one person and cakey on another.
Liquid and Serum-Style Concealers
These are usually the easiest option for concealer-only looks. They tend to blend into skin more like a base, which makes them suitable for larger areas such as under the eyes or around the nose. Lightweight formulas are less likely to look heavy when you use them in several places.
Best for: beginners, normal to dry skin, anyone wanting a skin-like finish.
Cream and Stick Concealers
Creamier textures typically offer more coverage in a small area, which can help with dark spots or blemishes. The trade-off is that they can look thick if you use them across a bigger area, and they may sit in fine lines if applied generously.
Best for: targeted spot coverage, those who want a more full-coverage result in small areas.
Pot and Palette Concealers
These are often highly pigmented and can be useful for color correction or strong coverage. They generally take more technique to blend, so they’re better suited to people who already feel comfortable with makeup.
Matching Formula to Skin Type
- Dry skin: look for hydrating or “skin-like” descriptions, and prep with moisturizer.
- Oily skin: consider a lighter-weight or longer-wear formula and set it lightly.
- Combination skin: you may need different amounts in different areas. Less in dry zones, a light set in the T-zone.
- Sensitive skin: check ingredient lists for anything you already know irritates you, and patch test a new product first, for example on the inner arm or behind the ear, before using it on your face.
How to Pick Your Shade (This Is the Step Most People Get Wrong)
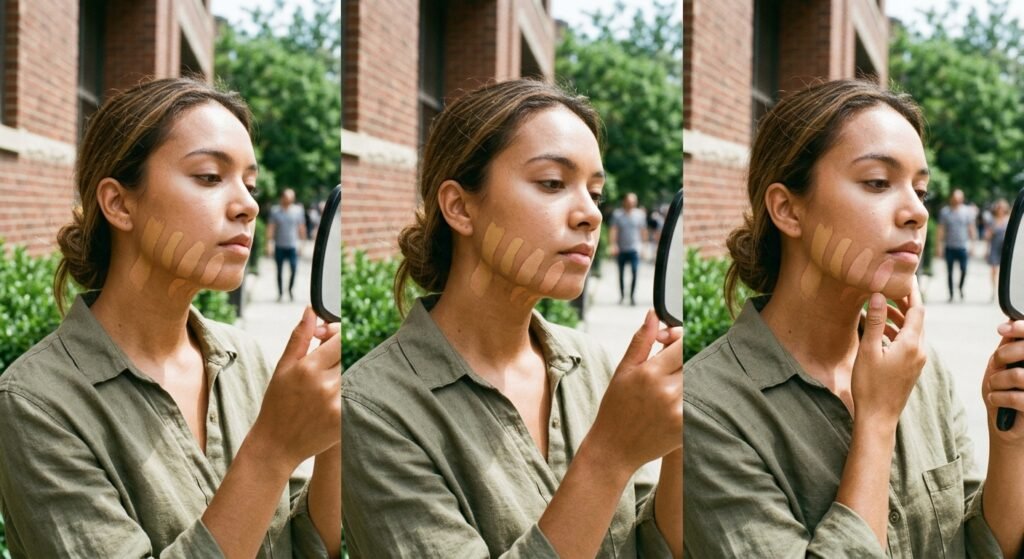
When concealer is your only base product, your shade becomes far more visible. A slightly mismatched foundation can be blended into the neck. A mismatched concealer sits as a distinct patch.
A simple approach:
- Test shades along the jawline in natural daylight, not under store lighting.
- For general face use, aim to match your skin tone as closely as possible.
- For under-eye brightening, some people go one shade lighter, but going too light can turn gray or chalky. Start with a close match and adjust.
- Consider undertone, not just depth. A cool-toned concealer on warm skin can look ashy, and the reverse can look orange or muddy.
- If you’re between shades, two shades that you can mix at home often beat one that’s slightly off.
Tip: Your skin tone can change with the seasons. A shade that matched in winter may look too light in summer.
5 Concealer-Only Makeup Looks
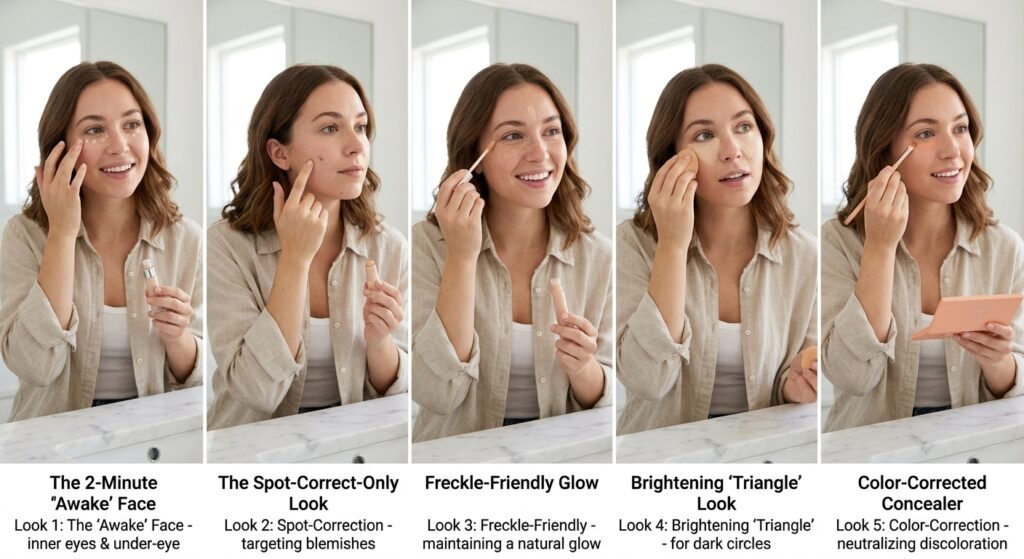
Look 1: The 2-Minute “Awake” Face
Best for: busy mornings, school or work, minimalists.
- Apply moisturizer and give it a minute to absorb.
- Dot a small amount of concealer at the inner corner of each eye and in a small triangle shape under the eye.
- Add tiny dots at the sides of the nose and the chin if you have redness.
- Tap (don’t swipe) with a fingertip or sponge until the edges disappear.
The point is to look rested rather than made up. Add mascara and lip balm, and you’re done.
Look 2: The Spot-Correct-Only Look
Best for: people with mostly clear skin and a few blemishes.
Skip any area that doesn’t need help. Dab a small amount of a cream or stick concealer on the blemish, then tap just the edges outward so it melts into the surrounding skin. Rubbing the center tends to lift the product off.
Because you’re using so little, this is one of the least cakey ways to wear makeup.
Look 3: The Freckle-Friendly Glow
Best for: freckles, beauty marks, light-to-medium coverage fans.
Use a lightweight liquid concealer, and place it only where you want brightness: under the eyes, the center of the forehead, and the chin. Avoid the cheeks and bridge of the nose, where freckles are usually concentrated, so they stay visible. A touch of cream blush on the cheeks adds color without needing a base.
Look 4: The Brightening “Triangle” Look
Best for: dark circles, hollow under-eye areas, photos or events.
Instead of a small dot, apply concealer in an inverted triangle shape: wide at the under-eye, narrowing toward the cheek. Blend with a damp sponge.
The shape helps lift the area visually. If your under-eyes tend to crease, apply only a thin layer first and let it settle for about a minute before checking whether you need a second one.
Look 5: The Color-Corrected Concealer Look
Best for: noticeable dark circles or strong redness.
Sometimes skin-tone concealer alone can’t cancel strong discoloration, and layering more of it leads to heaviness. A color corrector can help:
- Peach or orange tones are commonly used to neutralize blue or brown under-eye shadows on medium to deeper skin.
- Pink or light peach tones are often used for lighter skin.
- Green tones are traditionally used to tone down redness.
Apply a very thin layer of corrector only where needed, then add a skin-tone concealer on top. Using too much corrector is a common cause of a gray or muddy look.
Product Recommendations by Category
Product formulas, shade ranges, and prices change often, so I’m describing what to look for in each category rather than quoting specs. Before buying, check the current Amazon listing for ingredients, shade range, size, and recent reviews.
Lightweight Liquid Concealer (Your Everyday Option)

Best For: beginners and anyone wearing concealer in more than one area.
Why Consider It: Liquid formulas tend to blend easily and look more skin-like, which makes them the most forgiving choice for a no-foundation face.
Pros:
- Easy to blend with fingers or a sponge
- Typically looks more natural when used across several areas
- Often available in wide shade ranges
Cons:
- Coverage may be too light for stubborn blemishes or strong discoloration
- Some formulas can crease on very dry or textured under-eyes
What to Consider Before Buying: Shade range and undertone options, applicator type (wand vs. squeeze tube), and whether the formula is described as hydrating or matte.
Verdict for This Specific Use: A good first purchase if you’re new to concealer-only looks. If you want stronger coverage in one spot, you can add a second product later.
[Check the current Amazon listing for liquid concealers]
Stick or Cream Concealer (For Targeted Spots)

Best For: blemishes, redness, and quick touch-ups.
Why Consider It: Its thicker texture gives more coverage in less product, so a tiny dab goes a long way on a small area.
Pros:
- Higher coverage in small areas
- Portable and easy to carry in a bag
- Works well for spot correcting
Cons:
- Can look heavy across larger areas
- May settle into fine lines if overapplied
What to Consider Before Buying: Whether the finish is matte or creamy, and whether the texture suits your skin type.
Verdict for This Specific Use: A good partner to a liquid concealer, rather than a replacement, especially if you have occasional breakouts. If you only want one product, a liquid is usually more flexible.
[View stick and cream concealers on Amazon]
Color Corrector Palette or Pot (For Dark Circles and Redness)

Best For: people who find regular concealer isn’t enough for dark circles or redness.
Why Consider It: Neutralizing the color first can mean you need less concealer on top.
Pros:
- May reduce the need for heavy layering
- Multiple shades in one palette to try different corrections
Cons:
- Adds an extra step
- The wrong shade or too much product can look gray, orange, or patchy
- Probably unnecessary if your discoloration is mild
What to Consider Before Buying: Your skin depth and the type of discoloration you want to correct.
Verdict for This Specific Use: Worth considering if your dark circles are persistent and you’ve struggled with concealer alone. Skip it if you want the simplest routine.
[Check availability and current pricing for color correctors]
Makeup Sponge or Concealer Brush (The Blending Tools)

Best For: anyone who finds that concealer looks blotchy or heavy.
Why Consider It: A damp sponge pressed (not rubbed) into the skin often helps product look more like skin. Small brushes can offer precision for blemishes.
Pros:
- Can improve blending and reduce the need for extra product
- Reusable with cleaning
Cons:
- Need regular washing to stay hygienic
- A learning curve with dampening and pressing
What to Consider Before Buying: Fingertips work well for many people, so only buy tools if you want to improve blending.
Verdict for This Specific Use: Optional, but a small sponge is a low-cost upgrade if you wear concealer daily.
Quick Comparison
| Product Type | Best For | Key Strength | Possible Drawback |
|---|---|---|---|
| Liquid concealer | Everyday, multi-area use | Natural-looking blend | Lighter coverage |
| Stick/cream concealer | Blemishes and spots | Higher coverage | Can look heavy in larger areas |
| Color corrector | Dark circles, redness | Reduces layering | Extra step; can look gray if overused |
| Sponge or brush | Smooth blending | Better finish | Needs cleaning |
Common Concealer-Only Mistakes (and Fixes)
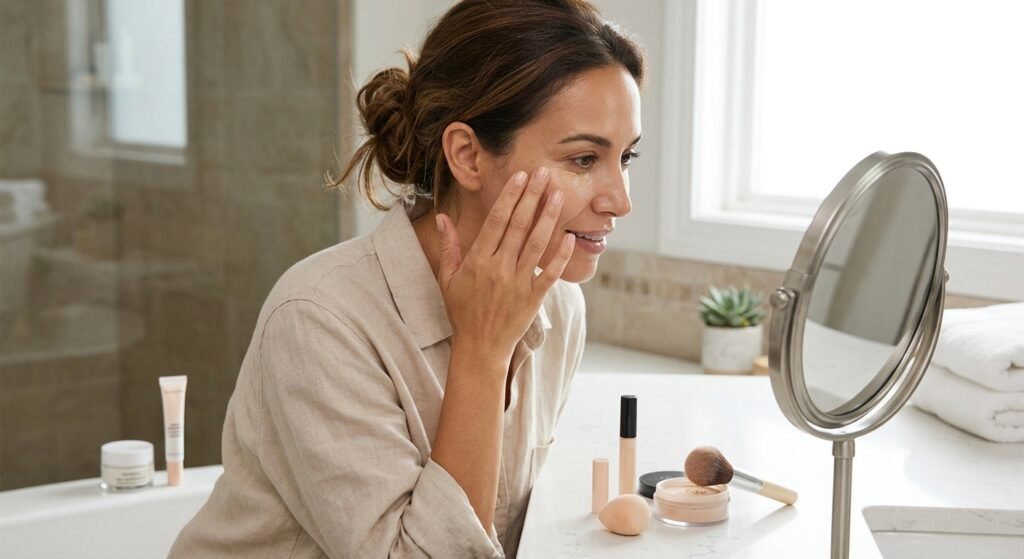
Using too much. Concealer is most convincing in thin layers. Add more only where you still see the issue.
Skipping skin prep. Dry patches grab product. A moisturizer (and an eye cream if you like one) gives it something smooth to sit on.
Wiping instead of tapping. Swiping moves product off the area you meant to cover. Press and pat.
Choosing a shade that’s too light everywhere. Light under the eyes can work for some. On the rest of the face, it tends to look like a mask.
Setting too heavily. A dusting of powder can help in oily areas, but too much dries out and emphasizes texture. Set only where you tend to shine or crease.
Layering over wet product. Let each layer settle briefly before adding more.
Quick Checklist: Your Concealer-Only Routine
- Moisturize and let it absorb
- Apply a small amount of concealer where needed
- Tap to blend the edges
- Wait a minute before adding more
- Set lightly only if necessary
- Add cream blush, mascara, or lip balm for definition
Tips for Different Situations
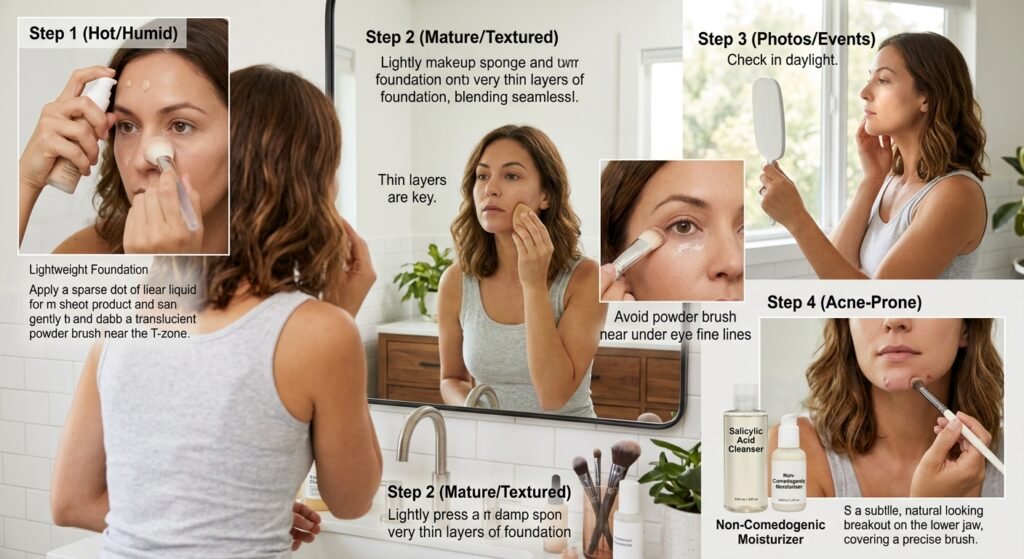
Hot or humid weather: Use less product and set the T-zone lightly. Lightweight formulas tend to feel more comfortable.
Mature or textured skin: Thin layers and hydrated skin typically look better than heavy coverage. Skip powder under the eyes if it emphasizes lines.
Photos and events: Build coverage gradually and check in natural daylight if possible, since flash can reveal an overly light shade.
Acne-prone skin: Look for formulas labeled non-comedogenic, and wash makeup off before bed. For persistent or painful acne, a dermatologist can offer more tailored guidance.
FAQ
Can concealer replace foundation?
For many people, yes, if the goal is light correction rather than all-over coverage. If you want a completely uniform complexion, foundation or a skin tint may do that more easily.
Why does my concealer crease?
Common causes include too much product, dry skin, or setting with heavy powder. Using less, hydrating well, and allowing a thin layer to settle usually helps.
Should I use one concealer for the face and eyes?
You can, particularly if the formula is lightweight. Some people prefer a brighter, hydrating formula for the eye area and a higher-coverage one for blemishes.
Does concealer-only makeup work on oily skin?
It can, with lightweight or longer-wear formulas and light setting where you shine. Results vary by formula and skin.
How do I remove it?
Use your regular makeup remover or cleanser, and follow with your normal skincare. Check the product’s instructions if the formula is long-wear or waterproof.
Conclusion
A concealer-only look is really about editing, not covering. Pick a lightweight formula you can blend easily, match your shade carefully in daylight, apply in thin layers, and treat only the areas that bother you.
If you’re starting from scratch, a liquid concealer in a well-matched shade is the most flexible first step. Add a stick concealer for blemishes or a color corrector for stubborn dark circles only if you find you need them. Then try the 2-minute “awake” face from this guide for a week and see how it fits your mornings.